Employee Onboard Automator using Azure Logic Apps


Automate the boring and lengthy process of on-boarding a new employee
One of the reoccurring tasks of an IT administrator is the on-boarding process of new employees. A new employee needs lots to be setup for them which includes an account profile, group and role assignment, permissions to access certain services and also resource provisioning. Having to continually do this manually every time a new employee or group of employees are hired can be a very boring, time consuming and error prone.
One of the immense benefits of the cloud is the ability to automate lengthy tasks. Here we proceed to use azure logic apps which is a low-code app development service to deploy an app that rapidly onboard an employee and provisions necessary resources in good time.

Development Process using Azure Logic Apps
Azure logic apps makes use of connectors which have triggers and actions. A trigger specifies the action that precedes the job to be initialized by the connector and actions specify the result to be returned after the connector has undertaken the action.
Define initial app trigger
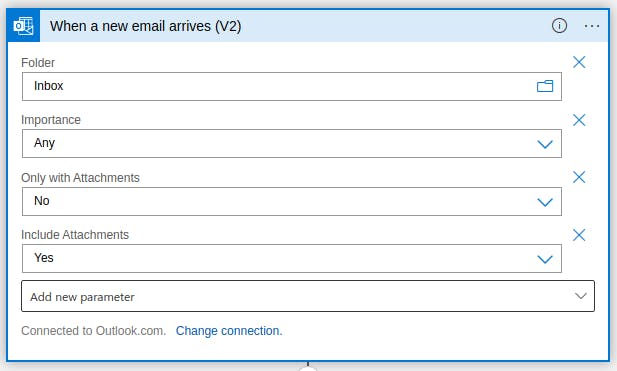
For this project, the trigger to initialize this application is when a mail is received to a particular mailbox specified by the IT administrator. The mail contains details of the new employee as a json attachment. These details will be used for setting up the employee account.
Create a blob storage to store the json attachment
The json attachment which contains the employee details needs to be stored in azure blob. Storing the json contents in azure blob will enhance easy retrieval within our logic app
Get the attachment contents from the blob and parse the json
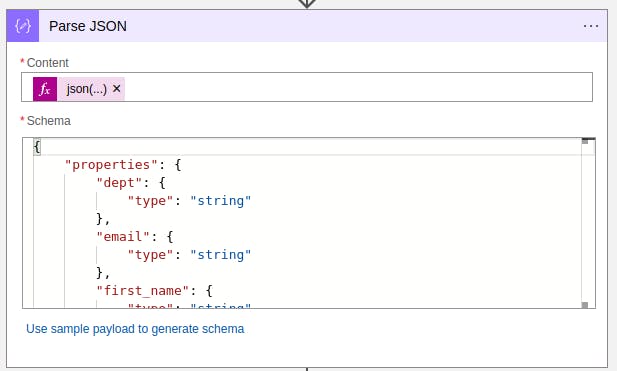
The json contents of the stored blob can be easily retrieved using the logic app "Get blob content" connector. This extracts the json attachment from the blob storage and passes it unto the "Parse JSON" connector. We need to parse the JSON to be able to get the user details and make it use-able in our logic app. The "Parse JSON" connector gives us an option to generate the json schema which will be used. Once a schema is generated the data is parsed and made use-able in our logic app
Begin the on-boarding process
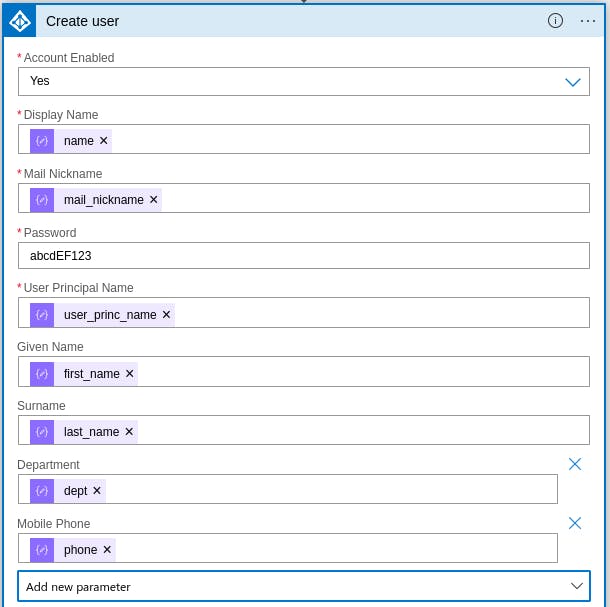
First we create a user profile for the new employee using the "Create user" connector. This connector uses the data that has been parsed to create a new user account for the employee. The user is mandated to reset his password on first login.
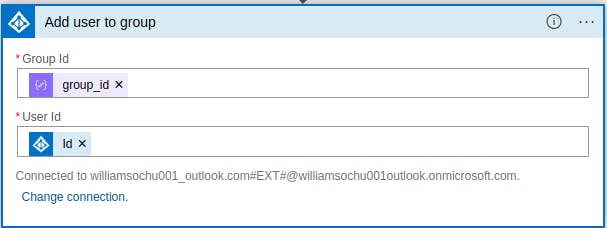
We add the user to a group based on his department
We have already setup groups in our tenant based on the departments in our organization. Each user is assigned to a corresponding group. Groups have been assigned roles. Any user added to a group inherits the permissions and roles of the group and can carry out operations limited to the assignment. This aids in managing privileged access in our tenant.
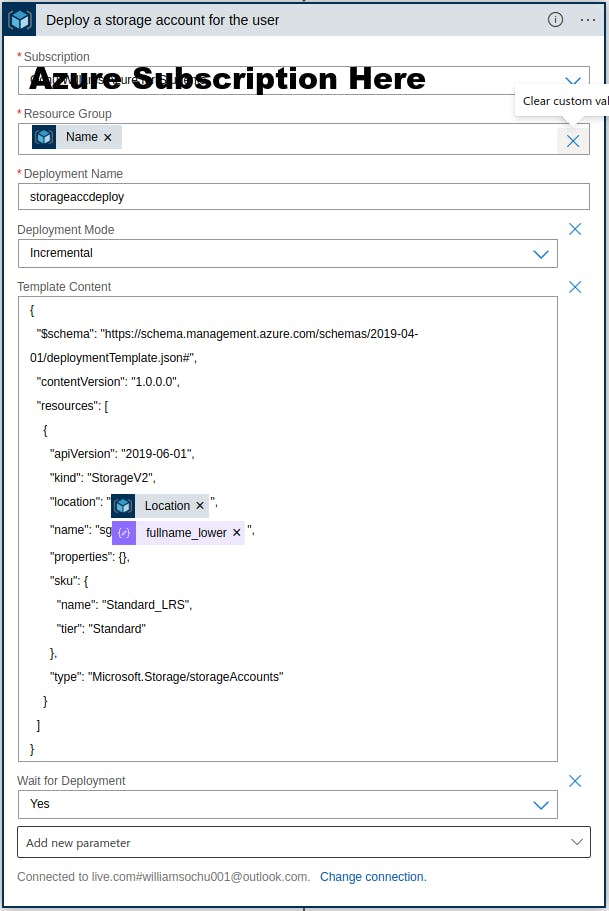
Provision resources for new employee
To help manage each employee uniquely, we will isolate the resource creation process per employee. First we create a resource group for each user and then deploy resources extensively. We make use of the "Create a resource group for user" connector

For our use case we deploy a Storage account and a Virtual Machine for each new employee. We make use of the "ARM connector" in azure logic apps. This connector allows us to deploy a template. We can either specify a template URL or paste our deployment template into the connector.
After we are done creating a user profile for the new employee and provisioning resources, we proceed to send a confirmation email to the new employee. This email contains the profile login details as well as login credentials to the virtual machine deployed for the employee. With these details, the employee can login to our tenant and get started.
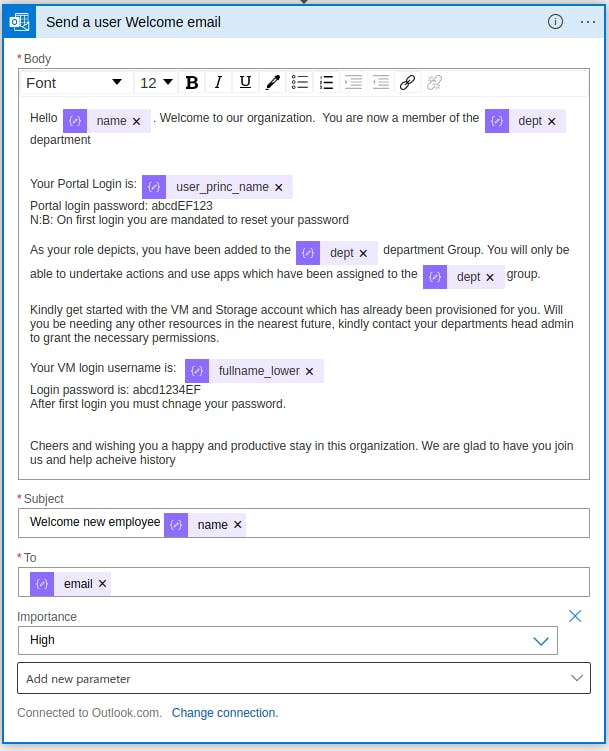
Hurrah!!, and we are done. Our new employee is fully on-boarded and ready to rumble.
Take Note
It is worthy to note that Role Based Access Control(RBAC) is important and users or groups should not be allowed to undertake any actions they are not permitted to. Roles should be used to limit access to resources. Adhering to this helps safeguard our tenant. Also we have to abide by least privileged access. Groups should only be assigned permissions to resources that are needed for their productivity. Any resource or action not relevant to the group should not be made available to the group.